-
Step 1: Write down the hazard before you look at any boot
-
Step 2: Match the hazard to the right Dunlop product family
-
Step 3: Verify the certification label on the boot, not the box
-
Step 4: Sample-fit with the socks and insoles people actually use
-
Step 5: Factor in winter gear and the rest of the PPE system
-
Step 6: Compare total cost, not just unit price
-
Step 7: Set up the cleaning and storage routine before the boots arrive
-
Bottom line
If you are the person who has to choose safety boots for a crew — even a crew of four — this checklist is for you. I handled PPE purchasing for an industrial maintenance contractor between 2018 and 2021, and I made enough expensive mistakes that I eventually wrote down a process just to stop repeating them. This is the sequence we follow now whenever someone says we need a new batch of Dunlop boots. Seven steps, in order.
One quick note before the list: pricing and standards details below were accurate as of early 2025. Standards get revised, product lines get adjusted, and distributors change pricing. Verify current specs with your supplier before you commit budget.
Step 1: Write down the hazard before you look at any boot
My most expensive mistake happened in my first year. A site supervisor told me we just needed steel toe boots. I nodded, wrote down steel toe, asked if they wanted waterproof, and placed an order for 30 pairs of dunlop steel toe rubber boots. Roughly $2,700 including freight.
They got what I ordered. But it was the wrong product for the work. That crew did chemical washdowns daily. A steel toe cap does nothing for chemical exposure. Rubber holds up to incidental splash better than leather, but we should have been looking at the hazmat-style line for that task instead of a spec I copied from a verbal handwave.
The lesson applies beyond boots. When someone asks me how does a welding helmet work, the short answer is that the lens shade has to match the light output of the process. Same logic here. You do not hand a welder a shade 5 lens for MIG welding and call it done, and you do not hand a chemical handler a generic steel toe boot and assume the word steel covers the actual hazard.
So before you open any product page or review site, write down what these workers are stepping on, stepping into, or standing near all day. That list drives every later step.
Step 2: Match the hazard to the right Dunlop product family
Once the hazard list is on paper, the catalog gets easier. Dunlop's work boot range is not one boot. Broadly there are general waterproof rubber boots, steel toe rubber boots, hazmat-style chemical protection boots, insulated and cold-condition models, and a few specialized options like metatarsal guard designs.
One warning about reviews: if you search dunlop hazmat boots reviews to make a purchase decision, pay most attention to fit complaints and comfort notes. Reviewers can tell you that a boot runs large or that the shaft is stiff. They usually cannot tell you whether the rubber compound stands up to the specific chemicals your crew handles. Use reviews for sizing and comfort clues. Make the technical decision from the product datasheet, or talk to a distributor who can pull up the chemical resistance chart.
Step 3: Verify the certification label on the boot, not the box
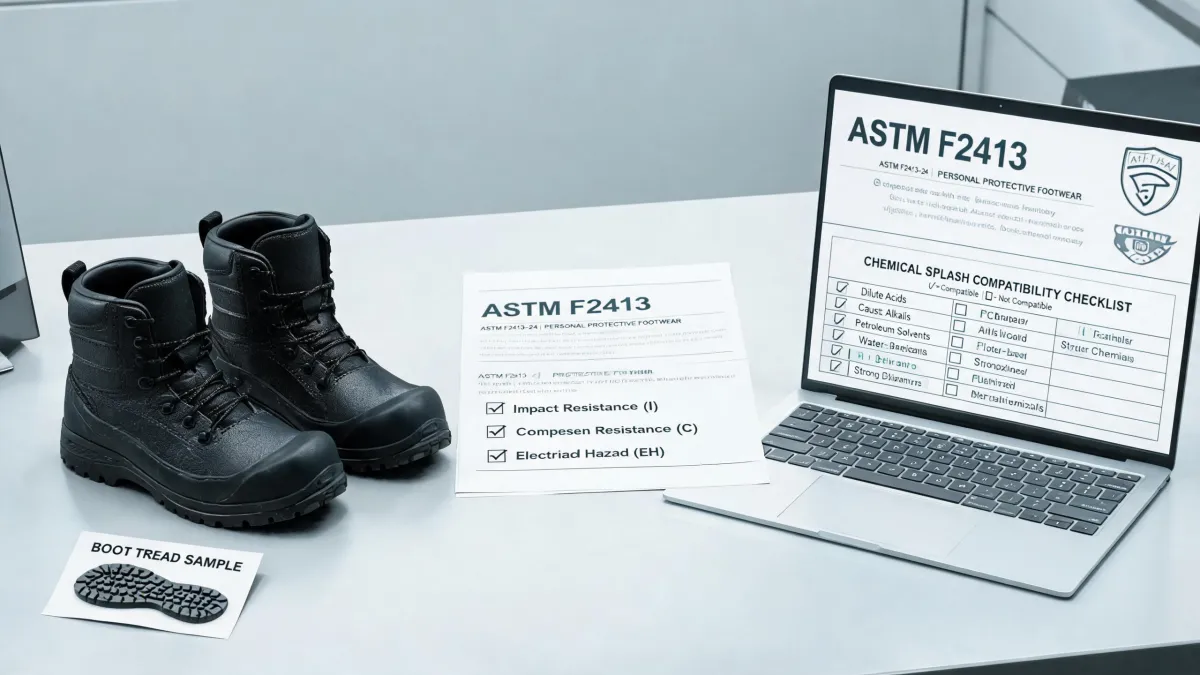
Here is the regulatory part. OSHA's foot protection rule, 29 CFR 1910.136, is the baseline for most workplace foot protection, and compliance generally means footwear that meets ASTM F2413. That standard covers impact resistance, compression resistance, and optional markers such as puncture resistance or electrical hazard rating. A boot made to that standard carries a mark on the boot itself, usually printed or debossed on the inside shaft or around the tongue. That is what an auditor wants to see.
I learned this the uncomfortable way during an audit in 2022. We had spec sheets ready, boxes stacked, everything tidy. The auditor asked to see the ASTM label on a boot one of the workers was actually wearing. The marking inside that worn boot had faded to the point where it was unreadable. The boot was probably fine. But compliance depends on evidence, and the evidence was gone.
Open at least one pair from every incoming lot and physically locate the F2413 marking. If it is not there, call the supplier before you distribute.
Step 4: Sample-fit with the socks and insoles people actually use
Skipping the sample stage cost me around $600 on my first big boot order. I sized thirty pairs from a chart and asked each guy what shoe size he wore. That worked until a worker with thick winter socks found his toes rubbing against the steel toe cap. Another needed the next size up. A third said the shaft squeezed his calf, and no, he could not have guessed that from the size chart.
Rubber boots fit differently than leather shoes. They do not stretch much, the toe box can feel roomy if you size wrong, and shaft circumference matters on taller models. The only reliable test is a pair on foot, worn with the same socks and any orthotic the worker uses on the job. Now we order samples in two or three sizes, have a few crew members wear them for a shift, and only then write the bulk purchase order. It feels like a delay. It is cheaper than processing twelve returns and waiting for replacements.
Step 5: Factor in winter gear and the rest of the PPE system
This one is easy to miss until January. When the crew is wearing carhartt coveralls insulated, the boot fit conversation changes. Whether the coverall leg goes inside the boot shaft or over it affects sizing, especially on rubber boots with a snug calf fit. If you only fit-test in August, you discover this on the first cold day.
Also remember that a steel toe shell conducts cold. If someone stands on concrete in freezing weather, the toe box pulls heat out of their toes fast. That is not a boot defect. For genuinely cold work, plan for an insulated model or a thermal insole rated for the temperatures your site actually sees.
Step 6: Compare total cost, not just unit price
I have made this mistake more than once. Boot A costs $68. Boot B costs $89. Boot A wins in the spreadsheet. But the true cost of an order includes freight, receiving time, return shipping, labor spent reissuing replacements, and the cost of a boot failing to do the job it was selected for.
Try this math. A 40-person order at $68 per pair is $2,720. Add an 8 percent exchange rate with $15 freight each way, plus a few hours of someone opening boxes and reissuing sizes, and that cheap order is suddenly above $3,000. A boot that costs more per pair but comes with a free size-exchange program and a supplier who answers the phone can be the cheaper order in total.
That is not an argument for buying the most expensive option. It is an argument for adding up all the costs before calling something cheap.
Step 7: Set up the cleaning and storage routine before the boots arrive
Rubber work boots fail early in predictable ways: left wet inside, folded down, kept in direct sun for months, or washed with the wrong solvent. A five-minute cleanup routine and a basic drying rack change how long a pair lasts.
When we added a boot wash station and a few drying racks, I want to say the average service life on general duty models roughly doubled. I might be misremembering the exact before and after numbers, but the direction was clear enough that we never went back. Show each worker how to rinse off mud and chemicals, dry the inside, and store the boots upright and out of direct light.
Bottom line
That process sounds long, but it takes less time on the second order. And it cuts waste in both directions. Some of our dry, indoor crew wears reebok work boots and that is the right tool in that environment. Other teams genuinely need the chemical resistance of a hazmat-style Dunlop boot. The point is to match the product to the hazard instead of standardizing everyone into one boot because it is easier to order.
If I had followed these steps in 2018, I would have saved the roughly $4,800 that my early mistakes cost, plus one very awkward safety meeting. Hopefully this keeps you from having an awkward meeting of your own.