-
Who This Checklist Is For
-
Step 1: Confirm the Compliance Requirement (Don't Assume)
-
Step 2: Match the Boot Material to the Hazard
-
Step 3: Consider the Fatigue Factor (This is the One Most People Miss)
-
Step 4: Check for Ankle Support and Closure System
-
Step 5: Verify the Sizing and a Size 1/2 Up Rule
-
Final Note: When This Checklist Works (and When It Might Not)
Who This Checklist Is For
This is for the person who just got a call from a foreman saying the crew's boots won't hold up in the new mud, the client who needs a hazmat boot by Thursday, or the safety officer who realized the current toe cap spec is wrong after the order shipped.
I'm a logistics coordinator for an industrial safety supplier. I've handled over 300 rush orders in the past 5 years, including a same-day turnaround for a chemical plant that needed hazmat boots before a Friday inspection. I'm not a marketer. I'm the guy who has to make the shoe fit the job—fast. Here's the 5-step checklist I use when time is tight.
Step 1: Confirm the Compliance Requirement (Don't Assume)
I've made this mistake. We once shipped a pallet of standard steel-toe rubber boots to a client, only to find out the job site required a metatarsal guard. The boots were correct for general site use but didn't meet the specification for their specific task. The cost to re-ship? Over $1,200. The lesson is simple: confirm the specific ASTM or CSA rating needed.
Base your first filter on the protection level. There are a few common categories:
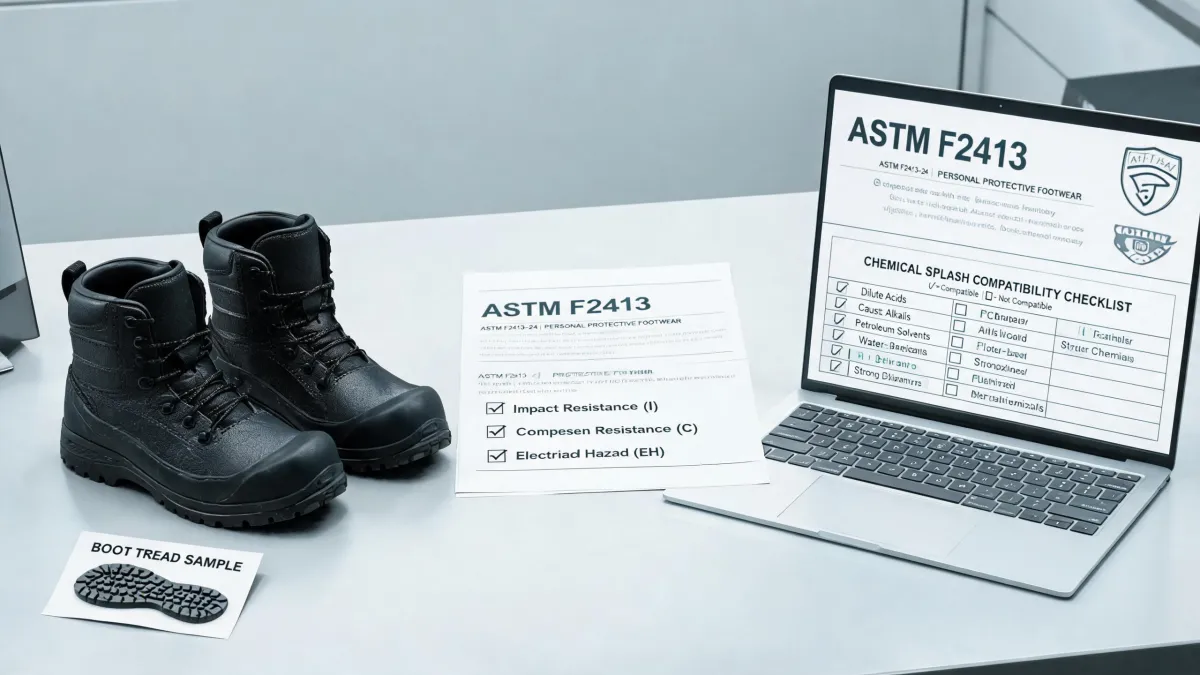
- ASTM F2413-18 (or M/I/75 C/75): Impact and compression resistance. Standard for most construction sites.
- Metatarsal protection (Mt): Covers the top of the foot. Often specified for foundries, heavy mining, or shipbuilding.
- EH (Electrical Hazard): Reduces the danger of electrocution from accidental contact with live circuits.
- Chemical/Hazmat: Usually specifies a chemical-resistant compound and often a specific closure system (like a quick-release strap). The Dunlop Hazmax 43 is a classic example for this.
Quick action point: If you don't have the job spec sheet in hand, call the safety manager or client. Don't guess. Missing this step could mean a $5,000 compliance issue at the gate.
Step 2: Match the Boot Material to the Hazard
Once you know the safety rating, the next choice is the boot material. This seems simple, but I've seen people order a pure rubber boot (like the Dunlop Purofort) for a site where the biggest risk was chemical splash, when a PVC compound would have been more resistant.
Here's the shorthand I use:
- Pure Rubber (e.g., Dunlop Purofort): Best for general heavy-duty use. Excellent abrasion and puncture resistance. Good for wet, muddy environments. Not ideal for strong solvents or oils.
- PVC/Nitrile (e.g., Dunlop PVC boots): Better chemical resistance than rubber. Often lighter. Good for food processing, sanitation, and chemical handling.
- Polyurethane (PU): Lighter weight, good insulation properties, but not as durable as rubber against sharp objects. I use it for insulated boots for cold, dry environments.
One experience that stuck with me: A client needed boots for a wastewater treatment facility. They thought rubber was the answer because it's 'heavy duty.' The rubber started showing degradation from the chemical flocculants within a few months. Switching to a PVC/nitrile blend fixed it. Don't assume 'rubber' is always the safest bet.
Step 3: Consider the Fatigue Factor (This is the One Most People Miss)
This is where my checklist differs from the standard manufacturing spec. A boot might pass all safety tests but make a worker miserable for a 12-hour shift. Fatigue is a safety issue.
I look at two things here:
- Sole weight: A heavy rubber boot with a thick sole (like some of the older industrial models) can be incredibly heavy. The FieldPro series is a good example of how they lightened the load without sacrificing the steel toe. If the crew is walking on concrete all shift, weight matters.
- Insulation levels: Over-insulated boots in a warm environment cause sweating, blisters, and discomfort. The Dunlop FieldPro Steel Toe boots are designed to be what I call a 'tiered insulation' model. They have a good thermal layer for general work but don't overheat. If you add a thick neoprene lining for cold weather, you're trading toe warmth for overall energy.
My rule of thumb: For indoor or temperate job sites (over 50°F), avoid insulate linings above 200-300 grams unless necessary. For outdoor Canadian winter work (under 20°F), you might need 800-1000 grams. Don't just order 'insulated'. Specify the gram weight.
Step 4: Check for Ankle Support and Closure System
This sounds minor, but it's a common failure point on rush orders. You need the right closure. I've had to swap out orders because the customer needed a quick-release buckle for hazmat entry, and we sent lacing models.
The choices are:
- Lace-up: Best fit, best ankle support, but slowest to put on/take off. Not for quick entry into a clean room or hazmat area.
- Pull-on (Knee boots): Fastest to get on, but less ankle support. Good for high-turnover entry/exit. The classic Dunlop rubber workboot.
- Quick-release strap or buckle: Common on the Dunlop Hazmax. Good balance of speed and security. Critical for chemical suits.
Watch out for this: I had a client once order 50 pairs of the same steel-toe boot, but half the crew had wide feet and half had standard. The lace-up model accommodated both. A pull-on boot is less forgiving. If you go with pull-on, confirm the calf circumference and boot height. Nothing worse than a boot that's too tight to work in.
Step 5: Verify the Sizing and a Size 1/2 Up Rule
This is the most basic step, yet it's where most of my 'after-hours emergency' calls come from. A size 10 in one boot is not a size 10 in another. You cannot just copy sizes from a previous order.
My process:
- Check the manufacturer's sizing chart. Dunlop, like many brands, uses European sizing or specific lasts. The Dunlop FieldPro runs differently than the standard Purofort. I've seen a size 11 Dunlop fit like a 10.5 in a different brand.
- Order a sample pair. I know this takes time, but for a large order (say, 50+ pairs), it saves a massive headache. The cost of 2-day shipping for one boot is nothing compared to the return shipping for 50 wrong pairs.
- Order 1/2 size up for steel toe. Steel toe boots by default reduce space for your toes. If the boot doesn't have a roomy toe box, the toes will hit the steel cap. It's painful. I almost always order a half size up above the usual shoe size—unless the boot is known for running large, which some of the PVC models do.
Real mistake I made: A year ago, I ordered 80 pairs of steel-toe boots for a large crew. I sized them exactly to their shoe sizes. Within a month, 12 guys complained of toe pain. We had to replace them. My lesson: never skip the 'half-size up' rule for steel toes unless you've verified the specific model's fit. It costs more upfront but saves the worker's feet and the QC headache.
Final Note: When This Checklist Works (and When It Might Not)
This checklist is for you if: you're buying boots for a crew that works on concrete, mud, construction sites, or general industrial environments. It works well for emergency situations where you need to order within 24-48 hours.
However, if your crew is doing specialized work—like chain saw operations (CA-approved boots), extreme cold weather (below -40°F), or working in deep water (like waders)—this checklist isn't enough. Those environments require specialized boots with dedicated design, like the Dunlop Liverguard or specific insulation ratings. That's a different conversation.
Prices as of February 2025: A standard Dunlop steel-toe rubber boot like the FieldPro Purofort runs roughly $130–$160. A lightweight PVC option might be $60–$90. Verify current pricing on the manufacturer's site as rates fluctuate with steel costs and shipping.