-
Step 1: Map the work environment before opening a catalog
-
Step 2: Confirm the safety standard before comparing prices
-
Step 3: Choose material and sole for the actual surface
-
Step 4: Calculate total cost per month, not invoice price
-
Step 5: Test fit with the correct lacing technique
-
Step 6: Run a 14-day trial before a volume order
-
Step 7: Publish the approved boot list
-
Final Notes from the Cost Side
I manage PPE purchasing for a 172-person utility contractor. Our footwear budget is about $54,000 a year, and I've tracked every invoice since 2019. If you landed here because you searched 'how to tie work boots,' you're in the right place — even if it doesn't sound like a procurement topic. Lacing changes fit. Fit changes safety. Safety changes what a pair of boots actually costs.
I only believed that after I ignored it. In 2023, when I audited our footwear spend, 23% of our replacement orders were for boots under eight months old. The most common complaint was 'not enough toe room' — even though the sizes matched earlier orders. We kept testing different models. The real issue was part lacing, part matching the product to the task before ordering. So I built a checklist. It is not fancy, but it stopped the expensive churn.
Step 1: Map the work environment before opening a catalog
Hazard first, brand later. If a crew works around water, mud, and slurry with no falling-object hazard, I start with all-rubber boots. I look at the Dunlop Chesapeake men's rubber boots plain toe when no impact protection is required, because a plain toe boot can reduce weight and cost. If chemicals are in the picture, I switch to Dunlop chemical resistant boots or an equivalent that lists the specific chemical resistance. A 'waterproof' leather boot does not automatically make it safe for solvents.
The same rule applies when someone requests Under Armour tactical boots or Irish Setter work boots. Those can be good for certain roles — walking-heavy inspection, outdoor utility work, dry conditions. But the search term should never replace a risk assessment. If the hazard calls for chemical-resistant rubber, a tactical or leather boot is not an alternative just because it is comfortable.
Step 2: Confirm the safety standard before comparing prices
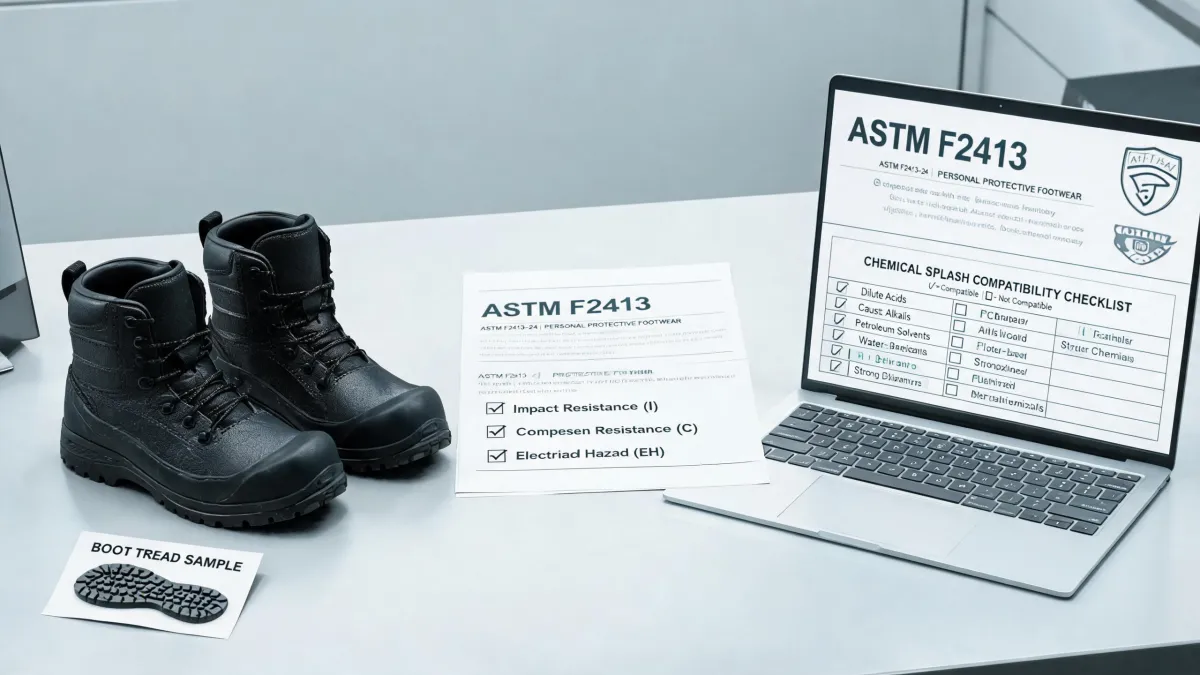
In the U.S., OSHA's foot protection rule is the starting point. According to OSHA (osha.gov), 29 CFR 1910.136 requires protective footwear when employees work where there is a risk of falling or rolling objects, objects piercing the sole, or electrical hazards. The standard most often appears on our labels is ASTM F2413-18, which covers impact, compression, puncture, and electrical-hazard performance. Verify the current version for your industry and jurisdiction; standards can be updated.
If a boot does not carry the required marking, it is not a safety boot for that hazard. Price does not matter at this point.
Step 3: Choose material and sole for the actual surface
Boot material is a financial decision, not a style preference. The categories I use:
- All-rubber boots, including many Dunlop boots, for wet, muddy, or chemical environments where decontamination is part of the routine.
- Leather work boots, such as Irish Setter work boots, for hot, dry, brushy, and uneven ground where abrasion resistance and ankle support matter.
- Lighter tactical-style boots, such as Under Armour tactical boots, for walking-heavy roles that do not involve heavy liquid exposure or impact hazards.
The most comfortable boot in the wrong category will fail early. That makes it the most expensive boot in the long run.
Step 4: Calculate total cost per month, not invoice price
In Q2 2024, we compared a $78 rubber boot with a $96 pair of Dunlop boots for a slurry crew. The lower-priced option lasted about 6 months on average. The Dunlop boots lasted about 14 months before replacement. That puts the real cost at $13.00 per month for the first pair and $6.86 per month for the second. Across 120 employees, the 'cheap' option would have cost about $8,800 more per year. A higher sticker price was the cheaper choice.
I do not stop at the purchase price. Shipping, return fees, replacement handling time, and worker downtime during exchanges all go into the cost-tracking sheet. The lowest quote is just the first line of the story, not the ending.
Step 5: Test fit with the correct lacing technique
Now the phrase you may have searched: how to tie work boots. I know it sounds too simple to belong in a buying checklist, but it is where many boot complaints start. When a worker pulls only the top laces tight, the heel can lift and the foot slides forward into the safety-toe cap. The complaint becomes 'these are too small' when the real issue is lacing. It took me a year and a pile of return approvals to understand that.
Here is the way we test a lace-up boot before ordering a full run:
- Open the laces enough to open the throat completely and pull the tongue forward.
- Push the foot in and seat the heel hard against the back of the boot.
- Tighten from the bottom eyelets upward. Pull each crossing snug; do not yank the top only.
- If the heel slips when walking, use a heel-lock lacing pattern before tying the final knot. A quick search for 'heel lock lacing' is easier than a wrong boot order.
- Tie a surgeon's knot by wrapping the first crossing an extra time; it stays locked longer through a wet shift.
Step 6: Run a 14-day trial before a volume order
Spec sheets do not tell you how the last fits or where the toe cap sits after nine hours. We now run a two-week trial with three workers who represent the crew. They wear the candidate in real conditions and log hot spots, heel slip, toe pressure, and foot fatigue. Calculated worst case: standardizing on the wrong boot could cost $8,000 or more in replacements plus morale. Best case: a trial saves most of that. I was still hesitant because workers remember bad boots longer than finance remembers savings, so we made the trial mandatory. It costs two pairs of boots and a little time. It is cheaper than restocking 60 boots.
After comparing eight vendors over three months in our TCO spreadsheet, the final pick was not the lowest quote. It had the best combination of life, sizing support, and return terms. That is not a dramatic choice, but it works.
Step 7: Publish the approved boot list
When a boot passes the standard check and the field trial, add it to your approved list with the model number and size range. This stops someone from substituting an unknown 'equivalent' at the last minute because the warehouse is out of stock. It also gives workers a choice only among boots that meet the hazard. If they want a different style, they can request a pilot pair and follow the same seven steps.
Final Notes from the Cost Side
Two things derail footwear budgets more than anything else:
- Choosing a brand before defining the hazard. That is how an excellent Under Armour tactical boot or Irish Setter work boot ends up in an environment where a chemical-resistant Dunlop boot belongs.
- Skipping fit and lacing checks because they feel too basic. A boot that is safe on paper will still fail if it slides, pinches, or puts pressure on the wrong part of the foot.
If you are comparing models by search phrases, do not ask which is best in the abstract. Ask where the boot will be worn, what standard it must meet, and what it will cost per month of service. Then use the correct way to tie work boots during the fit test. An informed buyer asks better questions and processes fewer replacements. I would rather spend ten minutes explaining lacing and standards than issue thirty return labels six months from now.