Who This Is For
If you're managing PPE budgets for a crew of 10 or a warehouse of 200, you've probably been burned by the "lowest bid" before. I know I have. This guide covers the five steps I use to evaluate every boot order—from Dunlop boots to Carhartt coveralls and everything in between. It's designed for people who sign the PO and answer to the CFO.
I'm a procurement manager at a 150-person industrial services company. I've managed our PPE budget (about $85,000 annually) for six years, negotiated with 20+ vendors, and documented every single order in our cost tracking system. Here's what I've learned the hard way.
Step 1: Define What "Works" for Your Crew
Before you look at a single price tag, you need to know what your people actually need. This sounds obvious, but I've seen more budget blowups from mismatched specs than almost anything else.
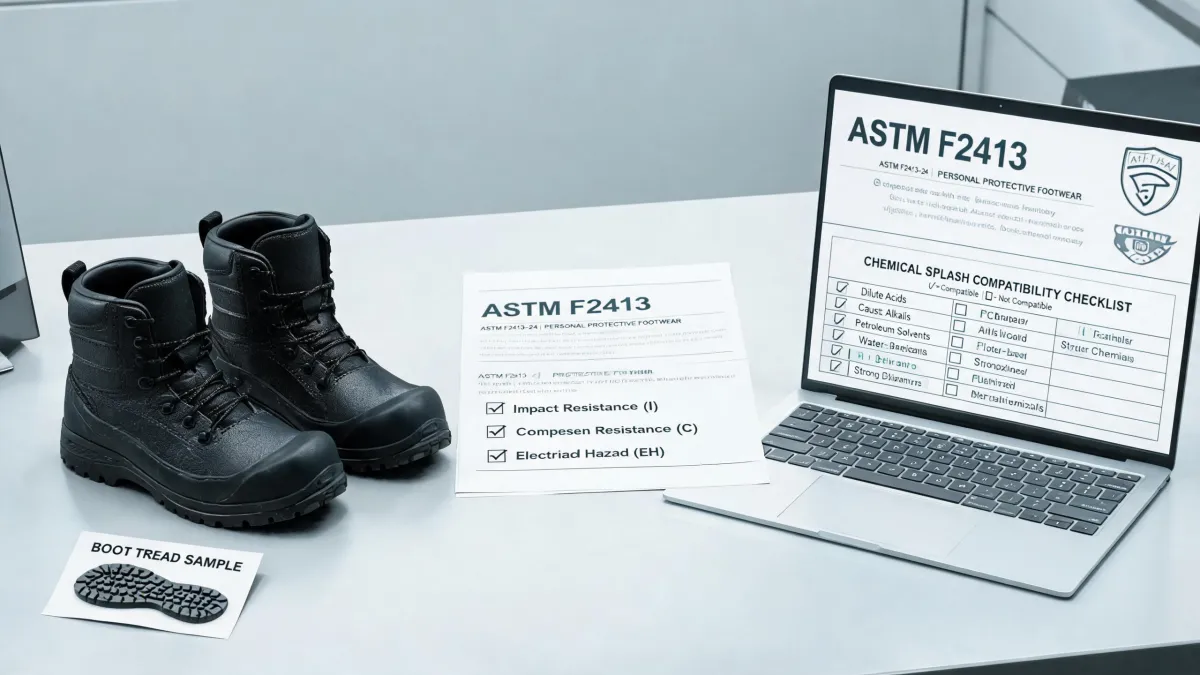
Start with the environment. Are they working wet? Grab rubber boots like the Dunlop Purofort or similar waterproof options. Got heavy falling objects? Steel toe or composite toe is non-negotiable. Working around chemicals? You'll need hazmat-rated boots. Metatarsal guards? Don't skip them if the OSHA report says so.
Here's the thing—I used to let supervisors pick based on what was cheapest on a given day. That led to guys wearing standard work boots in wet conditions. The boots lasted maybe 4 months, then we were reordering. So glad I switched to a needs-first approach. Almost went the other way, which would have kept that cycle going forever.
Create a simple matrix:
- Environment → Boot type (rubber, leather, insulated)
- Hazards → Toe protection, metatarsal, puncture plate
- Terrain → Sole type (slip-resistant, oil-resistant)
Do this before you get quotes. It saves a ton of time and keeps everyone on the same page.
Step 2: Get 3 Quotes with One Critical Question
Procurement policy at my company requires three quotes minimum. I built a TCO spreadsheet after getting burned on hidden fees twice (circa 2022—still stings when I think about it). Here's the question most people forget to ask:
"What's NOT included in that price?"
Sounds simple, but you'd be surprised. When I compared costs across 8 vendors back in Q3 2023, Vendor A quoted $42 per pair for Dunlop steel toe boots. Vendor B quoted $38. I almost went with B until I calculated the total cost. B charged $8 per pair for custom sizing, $4 per pair for logo application, and $12 per pair for rush shipping. Total: $62 per pair. Vendor A's $42 included everything. That's a 32% difference hidden in fine print.
The conventional wisdom is to always get multiple quotes. My experience with 200+ orders suggests that relationship consistency often beats marginal cost savings. But you still need to know the full picture.
Step 3: Calculate the Real ROI—Cost Per Wear
This is the step where most people mess up. They look at the upfront price and stop there. But the real cost isn't what you pay today—it's what you pay per day of wear.
Formula: (Total cost per pair) ÷ (Expected lifespan in days) = Cost per wear
For example:
- Cheap option: $35 rubber boot, needs replacing every 6 months (180 days). Cost per wear: $0.19/day.
- Premium option: $80 rubber boot (like Dunlop's Pro line), lasts 18 months (540 days). Cost per wear: $0.15/day.
The "expensive" boot is actually 21% cheaper per day. When I audited our 2024 spending, I found that switching to higher-quality boots reduced our total annual spend by roughly 17%. The cheap option resulted in more frequent reorders, more admin time, and more crew downtime waiting for replacements.
There's something satisfying about seeing those numbers work out. After all the spreadsheet wrestling, finally seeing the data back up the intuition—that's the payoff.
Step 4: Account for the Hidden Costs
After tracking 300+ orders over 6 years in my procurement system, I found that roughly 25% of our "budget overruns" came from what I call the "three hidden Cs":
1. Customization Costs
Logo stamps, sizing variations, special insoles. One vendor quoted $4 per pair for a logo stamp (which is pretty standard), but another said it was "free"—only to charge $150 setup fee for a 50-pair order. That's $3 per pair hidden. Same result, different packaging.
2. Compliance Costs
Need ASTM F2413-18 certified boots? Some vendors tack on a compliance verification fee. We're talking $2-5 per pair on top of the boot price. Ask for certified pricing upfront.
3. Consolidation Costs
Ordering Dunlop boots from one supplier, Carhartt coveralls from another, and Pit Viper safety glasses from a third? You're paying three shipping fees, managing three invoices, and likely missing volume discounts. Consolidation isn't just about convenience—it's a real cost driver. Switching vendors saved us $8,400 annually when we combined our PPE orders. A no-brainer once I ran the numbers.
Step 5: Build a Relationship, Not Just a Transaction
This is the part where I get a little unconventional. I know the instinct is to squeeze every penny out of negotiations. But in six years, my best relationships (and best deals) came from vendors who knew my business.
Why it matters: A vendor who knows you'll be ordering again in 6 months is more likely to offer priority treatment, waive rush fees, and even spot issues before they become problems. When I needed emergency replacement boots for a hazmat job, my go-to vendor didn't even charge for expedited shipping—because they knew I was a reliable customer.
To be fair, this requires some upfront work. You need to be consistent, pay on time, and communicate clearly. But the payoff? Way more than a $3 discount per pair.
Common Mistakes & How to Avoid Them
Mistake 1: Overlooking Break-In Time
New boots aren't comfortable out of the box. If you're switching brands (say from Dunlop to another rubber boot), build in a 2-week break-in period. Guys who wear new boots for a 12-hour shift on day one are going to complain—and that complaint might kill your whole vendor switch. If I had a nickel for every time a good pair of boots got rejected because someone didn't break them in properly... (note to self: this is a permanent training point).
"How to break in work boots properly: wear them for 2-4 hours a day for the first week, then increase. Use boot stretchers if needed. Don't trust the 'instant comfort' claims."
Mistake 2: Ignoring the Accessories
Insoles, anti-fatigue mats, moisture-wicking socks—they all factor into total cost. Cheap boots with great insoles often outperform expensive boots with none. Include these in your budget calculation.
Mistake 3: Focusing on Price, Not Delivery
A boot that costs $10 less but takes 3 weeks to arrive might cost you more in lost productivity. Time is money—literally. When comparing, factor in lead time and reliability. A reliable vendor with a 3-day delivery is often worth a premium.
Prices as of March 2025; verify current rates with your vendor. Regulatory info is for general guidance—check OSHA for current requirements.
I built this checklist over years of trial and error. It's not perfect, but it's saved us thousands. Hope it helps you avoid the same headaches.